
I used the Wilton fondant leaf cutters to cut out all the leaves. For the larger leaves I used my fondant embossing tool for the stitching detail, for the smaller leaves I used the end of a toothpick.


I searched Google for a simple turtle design and found one on My Ceramics which was perfect for the job. I printed out the image in two different sizes, and cut out the head, body and feet in one section, then the shell in a second cutout. I covered the pieces of paper in shortening, then laid them down on the fondant and cut out around the templates.
I found it much easier to do this on top of a piece of parchment paper so that when I went to move the piece it didn't stretch out of shape.
When making the green fondant for the body my DH stepped in and insisted I leave the color marbled, he thought it would look really cool like that. You can't really see the marbling in the photos though. I'm not sure how I feel about it in the end, not sure whether it looks marbled or just like I didn't finish mixing it!!
As with the leaves, I went over the turtles with the end of a toothpick to make the stitching edge.

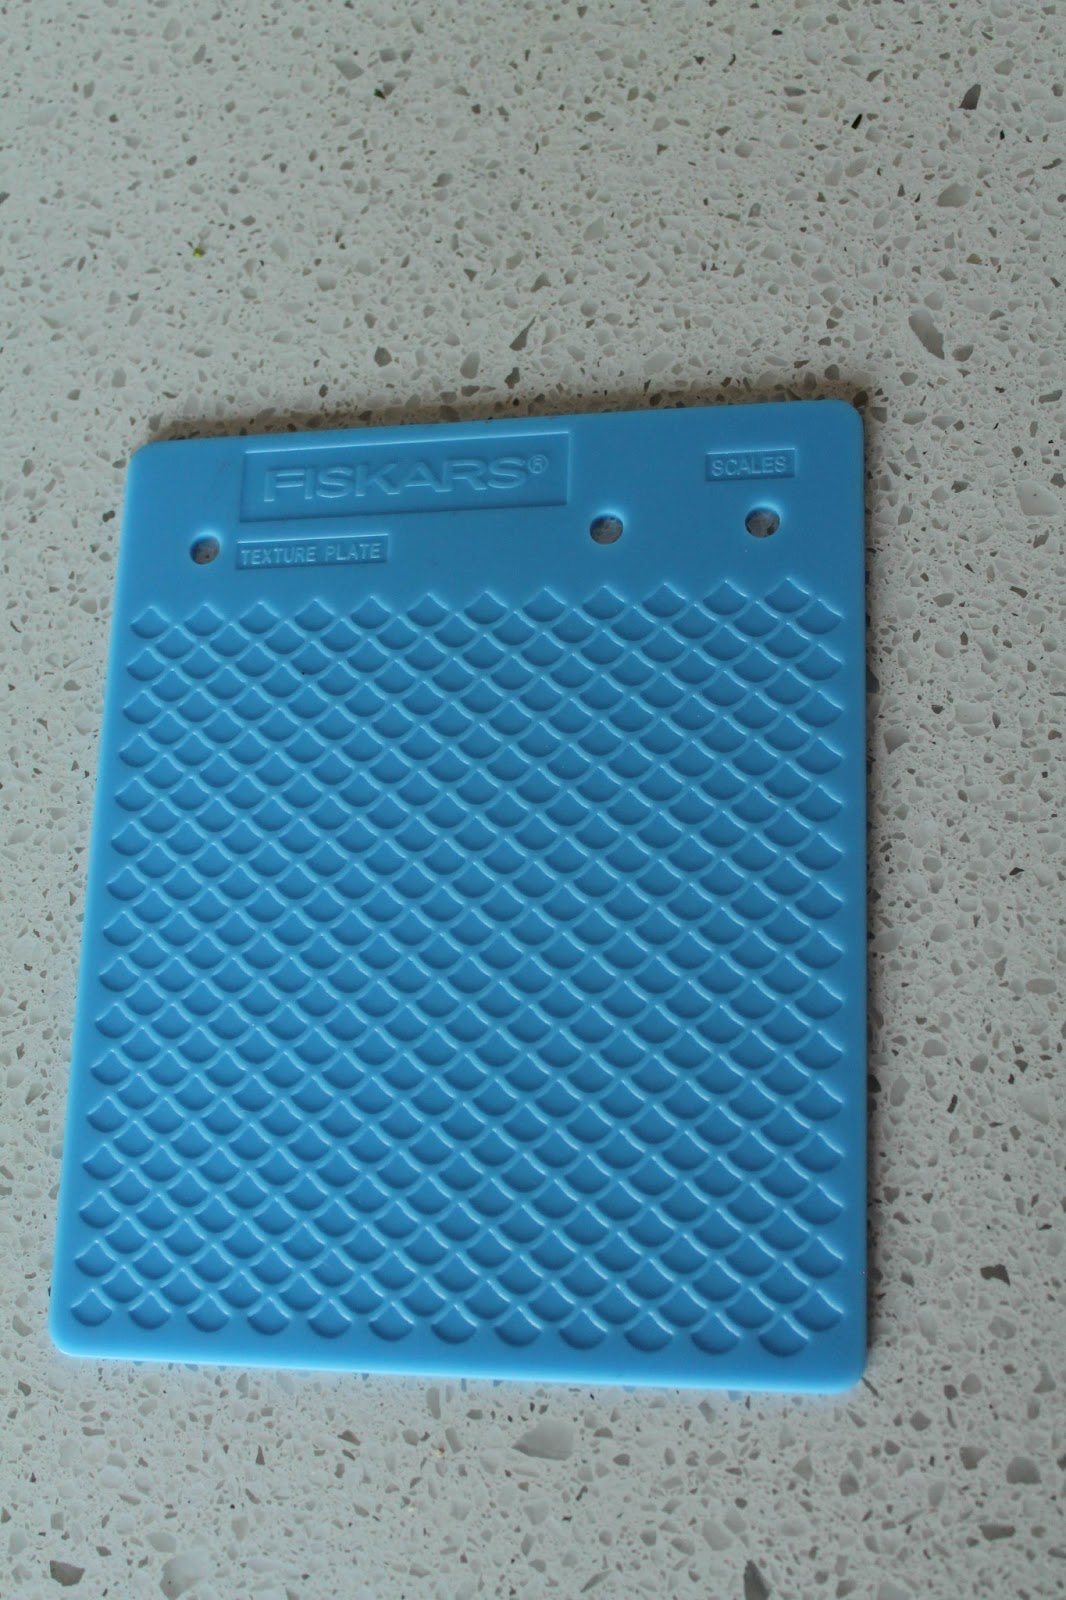
I was intending on putting blue spots on the shell like I'd seen a few others do with their turtles, but while putting away some of my tools into my cake supply drawer I found these Fiskar texture plates I had stashed away. They'd been given to me ages ago and I'd never had a use for them but I saw this scale one and immediately thought they would be perfect for the shells. I decided to use the texture plate upside down though so that they didn't resemble fish scales too much. I think it worked perfectly!! I have a whole bunch of these Fiskar texture plates so I'm intending on using them a lot more from now on!
After taking these photos I added the eyes and mouth onto the turtles.


The next step was to make the owls for the top of the cake. I want the owls to be sitting on the top of the cake, not lying down flat. Originally I was going to follow this tutorial from Bakingdom but I couldn't get it to work for me at all and grew very frustrated halfway through and scrapped the idea!!

I ended up rolling out my fondant (I mixed about 1/4 teaspoon of tylose powder through the fondant to make it firmer) about 1cm thick, and cut out my shape with the largest petal in my Ateco 6 piece set, then used the 2nd smallest cutter to cut the curve at the top of the head leaving the ear shapes behind (does that make sense?? Next time I'll take lots of photos, I promise!!).
I used the bottom half of a piping tip to make the feathering detail, and the bottom half of a very small piping tip for the baby owl. I used the black Americolor gourmet writer to draw on the eyes and eyelashes.


I made a simple 'glue' out of sugar and hot water to stick all the details onto the animals.
The next step will be to make the grass border for the bottom of the cake, the tree trunk to go on the side, a branch for the owls to be sitting on and cut out the message for the top of the cake.
I also made the cakes over the weekend: a chocolate mud cake from Exclusively Foods (mud cakes are best made about a week before being eaten). I was going to stack the layers today but realized I'd forgotten to buy the cream to make the ganache!
No comments:
Post a Comment