Sunday 17 March 2013

C.A.M. - March Cake

So the March cake is finally finished. I made a new baby themed cake to celebrate the birth of my new nephew, Makaio, decorated with fondant features such as mummy and baby turtle and mummy and baby owl toppers. I chose to include the owl and turtle in the design since my family has always passed down stories of our family ancestors taking on the shape of the owl and turtle to guard over us, so this cake is quite sentimental to me.


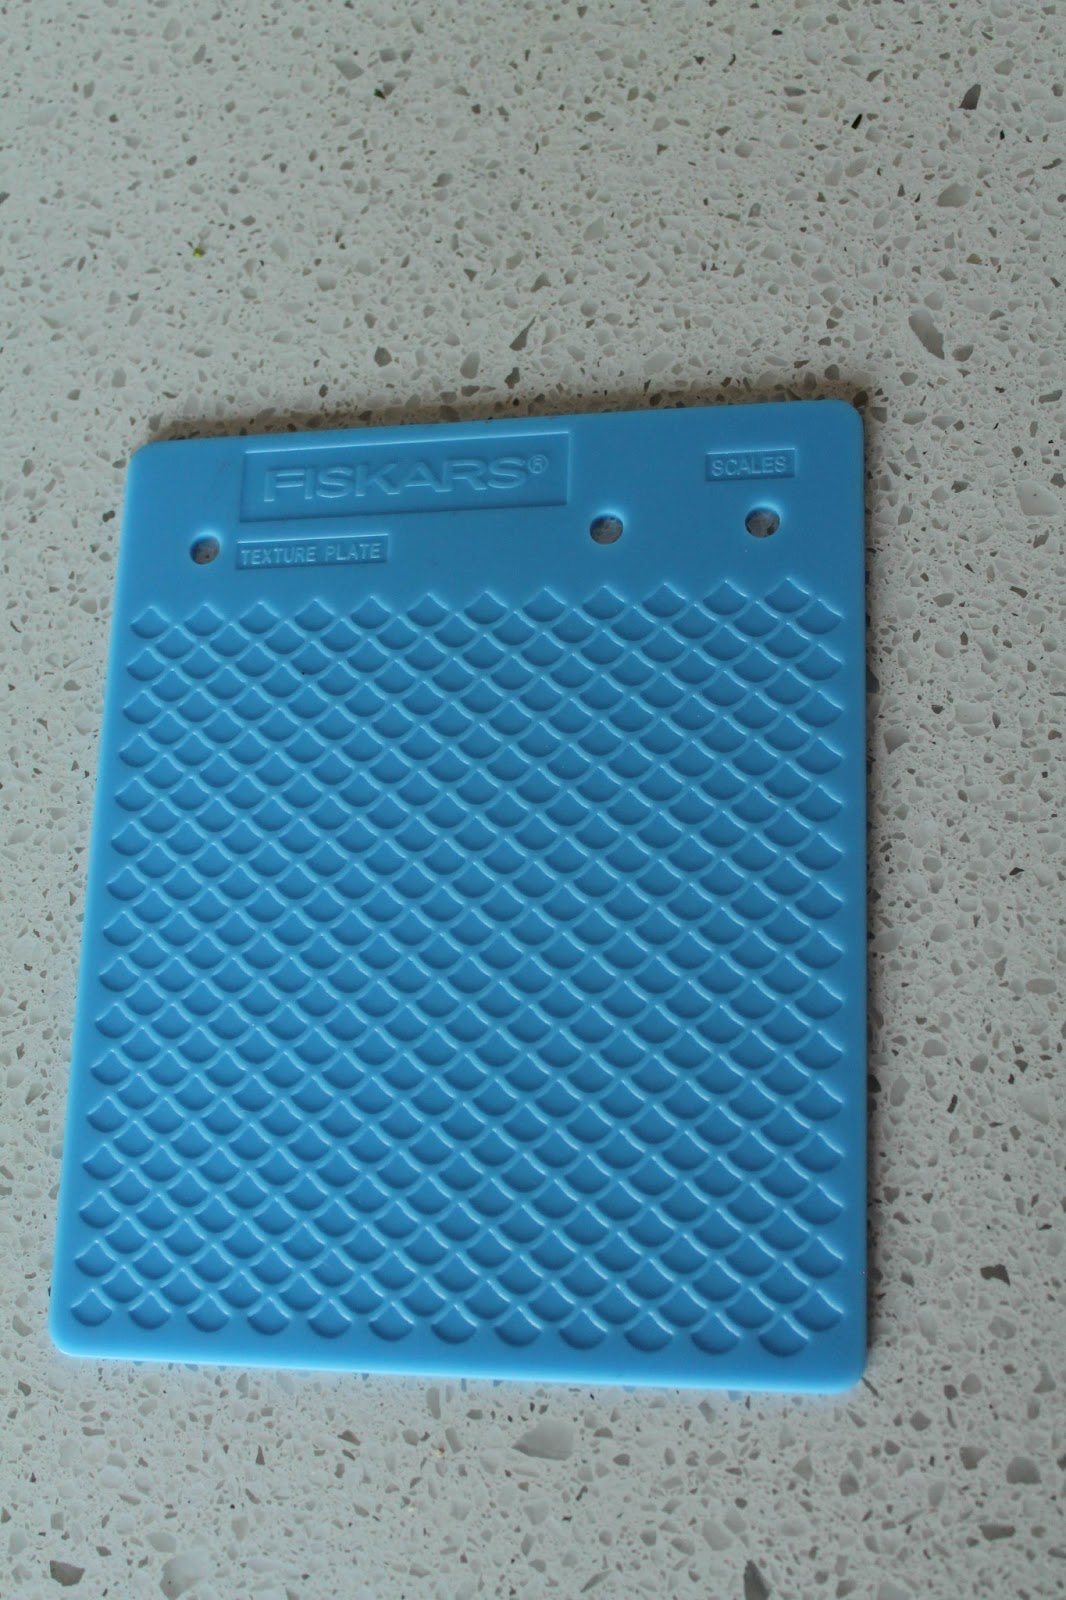
I used the Exclusively Foods chocolate mud cake recipe, layered with a milk chocolate ganache and Orchard brand fondant. I added texture to several of the pieces such as the grass, turtle shells and tree trunk using Fiskar's texture plates and added the stitching detail with the end of a toothpick (I used one of those fondant embossing tools for most of the large leaves but decided I preferred the look from the toothpick).

It's funny but looking at this photo I can't see anything I'm really unhappy with BUT when I was putting this cake together I was nearly in tears because I was convinced it was an utter failure! First of all, I had trouble putting the fondant on the cake. The cake is just over 6" tall and it was the first time I had ever covered such a tall cake. DH was also trying to 'help' me and getting in my way so I was getting quite frustrated with him!
I had a couple of little tears in the fondant which I was able to cover up with the decorations and DH moved the fondant as I was rolling it out over the cake and I ended up with not enough on that side! Needless to say I was pretty angry with him about that but I was able to cover it up again. I read something recently saying that the difference between a professional cake decorator and an amateur is that the professional knows how to cover up their mistakes. Well, if that's true then maybe I should open a business because you can't see most of my mistakes lol!!
I had made the decorations for the cake all in advance but unfortunately I hadn't stored the turtles properly so they had dried out a bit too much by the time I went to put them on the cake and I ended up breaking both of them in 1-2 spots :( I was able to join them back together to put on the cake but you can still see the spots where they broke.


No, my cake isn't crooked (trust me, I used my spirit level while making it lol!), but my cake stand is!
You can see quite easily in this picture that my fondant was far from perfect. Also, the grass border didn't line up properly under the tree trunk.

Despite all the problems I'm still pretty happy in the end. I don't know if I would be happy selling this cake to a customer without a huge discount, BUT the cake tasted lovely, it didn't fall apart, and most of it looks great. Just have to work more on covering the cake with fondant and not let my decorations dry out too much before putting on the cake.

Monday 11 March 2013

C.A.M - March Cake Critters

So I've spent all day today and yesterday making most of the little details to go on my March cake (yes, yes I know that's an awfully long time BUT I do have a 3 year old and 9 month old!!) and thought I'd write a post on how I made the detail parts.

I used the Wilton fondant leaf cutters to cut out all the leaves. For the larger leaves I used my fondant embossing tool for the stitching detail, for the smaller leaves I used the end of a toothpick.


 I searched Google for a simple turtle design and found one on My Ceramics which was perfect for the job. I printed out the image in two different sizes, and cut out the head, body and feet in one section, then the shell in a second cutout. I covered the pieces of paper in shortening, then laid them down on the fondant and cut out around the templates.
I found it much easier to do this on top of a piece of parchment paper so that when I went to move the piece it didn't stretch out of shape.
When making the green fondant for the body my DH stepped in and insisted I leave the color marbled, he thought it would look really cool like that. You can't really see the marbling in the photos though. I'm not sure how I feel about it in the end, not sure whether it looks marbled or just like I didn't finish mixing it!!
As with the leaves, I went over the turtles with the end of a toothpick to make the stitching edge.


I was intending on putting blue spots on the shell like I'd seen a few others do with their turtles, but while putting away some of my tools into my cake supply drawer I found these Fiskar texture plates I had stashed away. They'd been given to me ages ago and I'd never had a use for them but I saw this scale one and immediately thought they would be perfect for the shells. I decided to use the texture plate upside down though so that they didn't resemble fish scales too much. I think it worked perfectly!! I have a whole bunch of these Fiskar texture plates so I'm intending on using them a lot more from now on!
After taking these photos I added the eyes and mouth onto the turtles.


The next step was to make the owls for the top of the cake. I want the owls to be sitting on the top of the cake, not lying down flat. Originally I was going to follow this tutorial from Bakingdom but I couldn't get it to work for me at all and grew very frustrated halfway through and scrapped the idea!!


I ended up rolling out my fondant (I mixed about 1/4 teaspoon of tylose powder through the fondant to make it firmer) about 1cm thick, and cut out my shape with the largest petal in my Ateco 6 piece set, then used the 2nd smallest cutter to cut the curve at the top of the head leaving the ear shapes behind (does that make sense?? Next time I'll take lots of photos, I promise!!).
I used the bottom half of a piping tip to make the feathering detail, and the bottom half of a very small piping tip for the baby owl. I used the black Americolor gourmet writer to draw on the eyes and eyelashes.
 I had made the owls the day before the rest of the details and had forgotten to put the stitching detail on. After I'd finished all the other items today I pulled out the owls and added on the stitching. I think it would have looked better if I'd done it on the same day, the stitching just doesn't look...right.. :/ I stuck toothpicks halfway through the bottom of the owls so that I can 'stick' them into the cake. They've already firmed up quite well, I think (I hope...) that they'll stand up quite well on the top of the cake.


I made a simple 'glue' out of sugar and hot water to stick all the details onto the animals.

The next step will be to make the grass border for the bottom of the cake, the tree trunk to go on the side, a branch for the owls to be sitting on and cut out the message for the top of the cake.

I also made the cakes over the weekend: a chocolate mud cake from Exclusively Foods (mud cakes are best made about a week before being eaten). I was going to stack the layers today but realized I'd forgotten to buy the cream to make the ganache!