Ok so I know that I said I was going to post up some tutorials for the decorations I was making for Baby Z's birthday party but what else can I say other than I suck?? I've been incredibly busy over the past month with catching up on studying, family stuff, being unwell, etc so I haven't really had time to do a whole bunch of tutorial posts. Fortunately all the decorations were very easy and straightforward so I'll simply explain each of the decorations.
For Baby Z's birthday I wasn't planning on a huge party with lots of invited guests etc. We don't really know too many people here in Canberra, other than family, and I definitely don't know anyone with kids Z's age so I decided to simply hold an intimate family luncheon and invite over a few close family members.
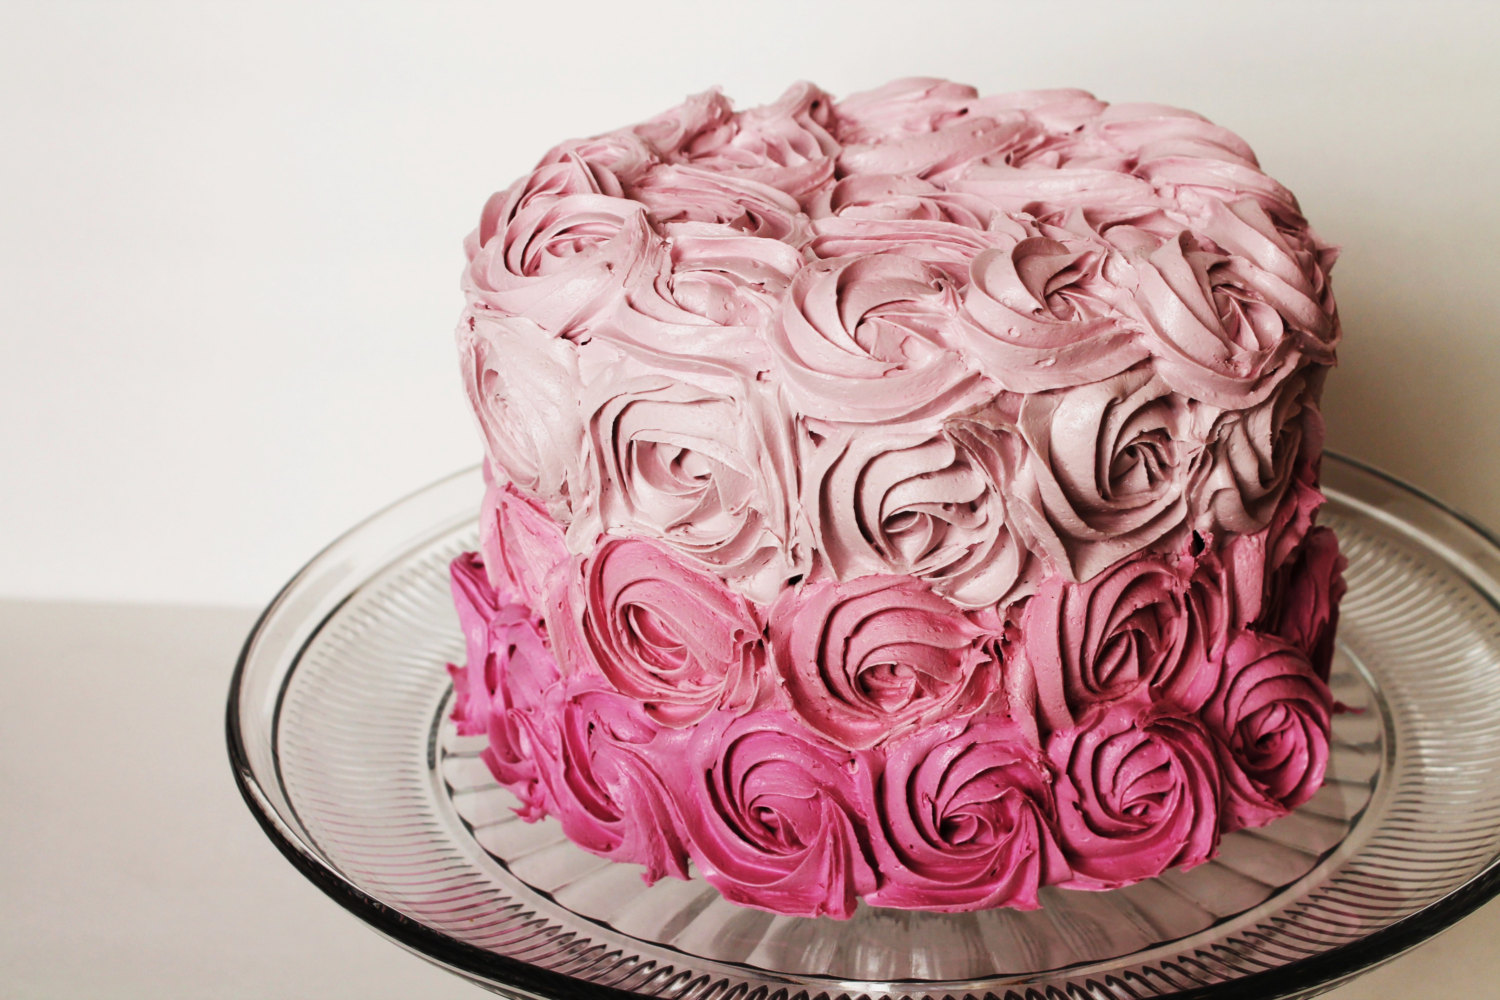
This is the birthday cake I made using Sweetapolita's pastel swirl method - I probably could have swirled the sides a bit more to achieve a nicer finish, but was running short on time! The top tier I made so it could be lifted off the main cake and used as a smash cake. I used my eggless chocolate cake recipe with pre-made Wilton buttercream - which I DEFINITELY won't be using again!!! It was super sickly sweet, ugh, but definitely easy! I wasn't happy with how the plaques turned out, I was trying out a method that didn't work too well, next time I would probably pipe directly onto the plaques rather than using my edible ink markers.
I made this adorable mini cake bunting using double sided scrapbooking paper, string and mini bamboo skewers I found in the local dollar store. I also made the mini pinwheels using double sided scrapbooking paper, and used a sewed on bead to close the centre.
Using double sided scrapbooking paper I made these pinwheels, with silver star shaped pins in the centre. I hot-glued them onto dowels (which means they don't turn like normal pinwheels - but I didn't need them to be functional!) and used these cute glass soda bottles I found at a local dollar store for $1.50 each. I tied a pretty ribbon bow around each bottle.
You can't see his jumpsuit too well in this photo unfortunately, I ordered it online from Cheekee Monkeez. It says Z is for Zavien. A had a matching long sleeve shirt that says A is for Alakai. I'll try to get better photos when they come out of the wash - if the cake washes out lol!!
Stand of half eaten buttermilk scones. I used a flower cutter to cut them out since I couldn't find my round cutters, they looked super cute! They were served with strawberry jam and whipped cream. Yum!!
I found instructions online for folding napkins into the shapes of button-up t-shirts. The instructions are for cloth napkins but worked perfectly for these paper napkins I bought. I topped each napkin off with one of the tissue paper pom poms I made earlier.
I strung up some of the nicer photos of Baby Z all the way from when I was still pregnant to now. Everyone really liked looking through these photos and I gave each of the grandparents and great-grandparents an envelope with their own copies of the photos to take home.
The smash cake was a definite success! The grandparents were all a little bit horrified at first lol but were definitely amused watching Baby Z's disgust at having dirty hands!! (He doesn't like having dirty hands and kept stopping to try and shake off the icing!)
The menu:
Cucumber and herbed cream cheese tea sandwiches
Red pepper, basil pesto and feta tea sandwiches
Smoked salmon tea sandwiches
Pumpkin and winter vegetable soup with crusty bread
Crispy noodle salad with Asian vinaigrette dressing
Scones with jam and whipped cream
Birthday cake!!
A few of the guests had special dietary requirements so I kept food fairly simple and stuck to vegetarian options. Since there weren't many people and we were all close family I decided not to go overboard with a lot of different options.
I served the soup in individual coffee cup portions, everyone commented on what a good idea it was as it gave you a perfect amount, not enough to fill you up so you can't gorge on scones and sandwiches and cake, but enough to make everything into a substantial lunch.
The sandwiches were gobbled up very quickly, everyone really enjoyed them! The smoked salmon ones were kept very simple, just salmon on bread, no butter or anything else as they were for a couple of the grandparents who have very strict dietary requirements. I'll have to post the recipe for the herbed cream cheese, it was soooo good!!
It was a lovely day spent with close friends and family, and I'm now starting the planning process for A's 4th birthday - only 5 months away!!! Lol!